Creating sampling points
Running FocalPatch
Appendix A: CWED File
Appendix B: Setting working directory
Appendix C: Attaching Grid Theme Values
Appendix D: Adding XY Coordinates
Creating sampling points
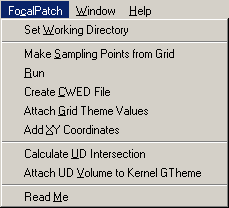
- Make sure the extension is installed and enabled. Enabling the FocalPatch
extension will automatically enable the Spatial Analyst extension as well.
This will add a single menu to the View GUI.
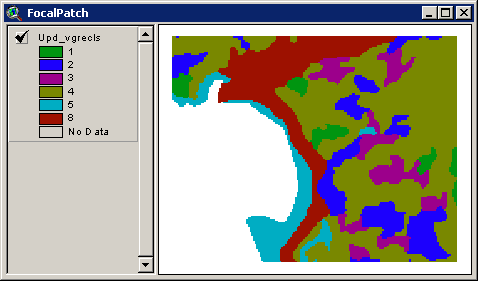
- Add a grid theme to your view.
- To create the sampling grid, select the FocalPatch menu choice Make
Sampling Points from Grid. (If you have not saved the project, you will
be prompted to do so before you can proceed.)
A dialog will open listing the grid themes in the current view. Select the
grid theme from which you want to create sampling points. A point will be
created for each cell's center.
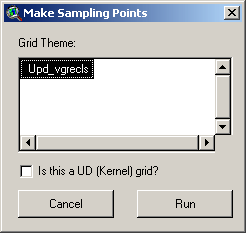
If this grid is the output of a kernel (UD) analysis in Animal Movements,
check the box for Is this a UD (Kernel) grid?. This will also attach
the kernel and use attributes to each point. If this is the case, points will
be created only for the locations with relative use > 1 ("kernel"
value < 100).
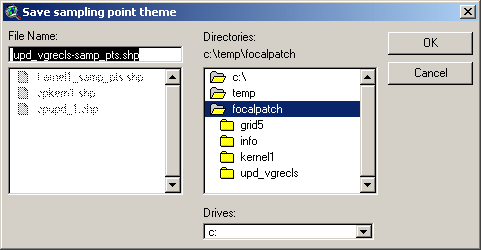
- You will be prompted for the file system location for the new point shapefile's
data sources. The point theme's shapefile will be named by default in the
pattern grid_name-samp_pts.shp where grid_name is the name of
the source grid theme's data source. The shapefile will be placed by default
in the working directory.
This will create a new shapefile, and add several fields to the shapefile's
table. When the shapefile is created, it will be added to the view.
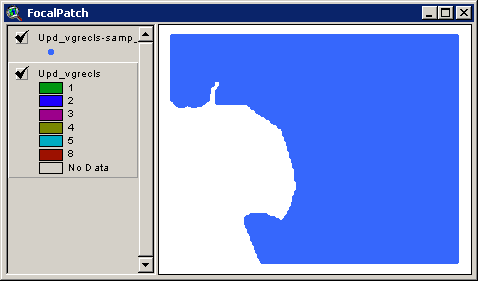
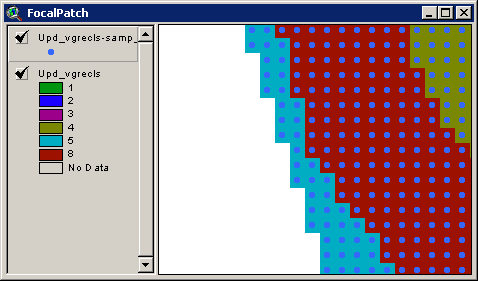
A typical land cover grid will generate a very large shapefile. If
you zoom in to a larger scale, you will see the individual points:
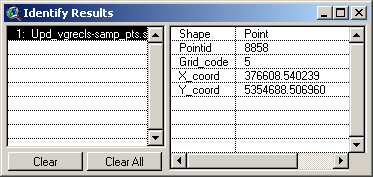
If you Identify one of these points, you will see the attribute fields
that have been added to the theme's table, including the original grid cell
value and X and Y coordinates.
Running FocalPatch
- From the FocalPatch menu, select Run. This will open a dialog
allowing you to specify several controls:
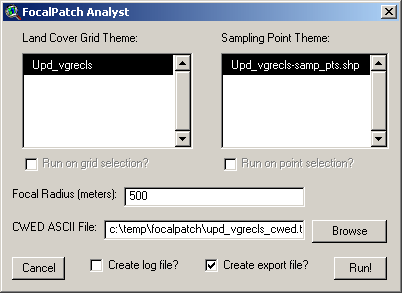
- Land Cover Grid Theme:
Select the grid theme that represents land cover
- Run on grid selection?:
If there is a selection on the grid theme's table (assuming it is an integer
grid with a table), the checkbox will be enabled. Checking the box will
make a temporary extraction of the selected cells, and process on this
extraction. Leaving the box unchecked will run against all cells in the
grid.
- Sampling Point Theme:
Select the point theme representing your sampling points. It is assumed
you have created this point theme from the FocalPatch analyst. If you
are using a different set of points, you will need to run the menu choice
Add FocalPatch Fields. This will add the necessary fields to hold
the Fragstats values.
- Run on point selection?:
If there is a selected set of points, the check box will be enabled and
checked by default. If you keep the box checked, the process will run
on the selection only; if you uncheck the box, every point will be processed.
- Focal Radius (meters):
Specify the radius for the focus. Fragstats assumes your data are stored
in meters.
- Contrast Weighted Edge Density (CWED) ASCII File:
If you have a CWED file, you can enter its pathname or browse for it.
If the CWED file has the same basename as the Land Cover Grid Theme, and
is in the same directory as the grid data source, the file will automatically
be added to the widget. There is a menu control to assist in the creation
of the CWED file if you do not have one. If you do not know what a CWED
file is, see Appendix A and read the Fragstats manual.
- Create log file:
Check this if you want to create a log file that will document timing
statistics.
- Create export file:
Check this if you want to export the output table as a comma-separated
ASCII file after the process completes.
- When the necessary controls have been selected, the Run button will
be enabled. Click the button to start the process.
If your machine is running McAfee anti-virus software (MCSHIELD.EXE), it will
be disabled during runtime in order to speed processing. It will be restarted
at the end of the process. If you are not running McAfee anti-virus software,
you will see a command prompt with a message you can ignore and/or close.
- As the process continues, the ArcView application title bar will show you
the progress, including:
- the cycle number (and total cycles),
- point record number,
- estimated time to completion (in seconds, minutes, and hours), and
- average time per cycle
In my example, I have selected only 8 points from the point theme.

- When the process completes, the status bar will indicate completion, as
well as the location of optional output and log files:

- For a description of output files see Output.
Appendix A: CWED File
To calculate Contrast Weighted Edge Density, you need to have a CWED definition
file. This file assigns relative weights to the edges of different patch types.
Specify higher values for higher contrast edges (e.g., grassy meadow and complex
mature forest). Values need to range from 0 (no contrast) to 1 (high contrast).
Here are the contents of a sample CWED file. The first 2 numbers represent
patch values, and the third number represents the relative contrast between
the classes. For example, the first record (1, 2, .10) might represent the contrast
between 150 and 200 year old conifer patches, while the 2nd record (1, 3, .75)
might represent the contrast between 150 and 30 year old conifer patches.
1, 2, .10
1, 3, .75
1, 4, 1
1, 5, 0
1, 8, 1
2, 3, .75
2, 4, 1
2, 5, 0
2, 8, 1
3, 4, .25
3, 5, 0
3, 8, .25
4, 5, 0
4, 8, .25
5, 8, 0
|
To create a CWED file:
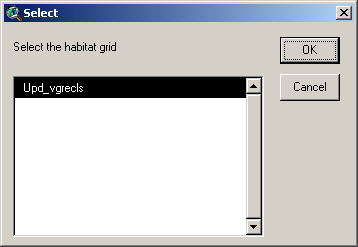
- From the FocalPatch menu, select Create CWED File. This will
open the Select the habitat grid dialog.
- Select the grid theme for which you want to create a CWED file.
-
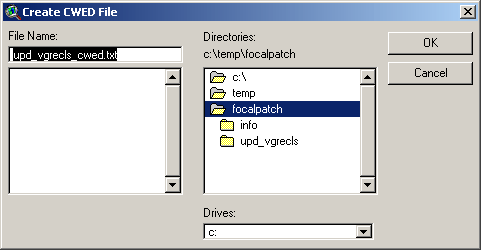
Browse to where you want to create the file. By default, it will be created
in the same directory as the source grid, and will be given the same name
as the source grid (with an appended .txt).
-
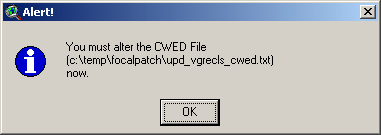
After a few moments (while the file is being generated), a message box
will instruct you to alter the CWED file.
-
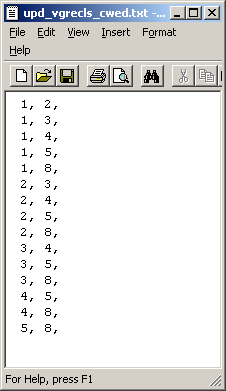
The CWED file will open in WordPad. It will contain only the unique combinations
of patch values. You will need to add the third column of contrast values
according to the biological process that interests you.
Appendix B: Set Current Working Directory (CWD)
Because FocalPatch creates output files, you will want to specify in advance
where these files will be placed. By default, output files will be placed in
the current working directory. ArcView gives you the ability to set your CWD
by entering (typing) the path; however, this is not an efficient method of specifying
the CWD. Instead, use the FocalPatch menu choice Set Working Directory.
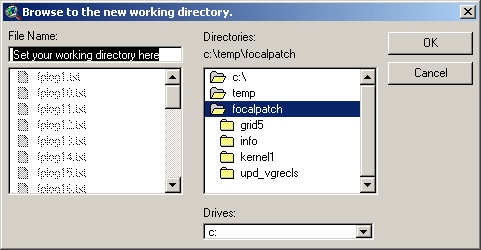
Simply browse to the directory and click OK. You do not need to specify
a file name.
Appendix C: Attaching Grid Theme Values
FocalPatch automatically attaches grid theme cell values to the points during
processing. However, if you want to add these values without processing FocalPatch,
selecting this choice from the menu will allow you to attach the underlying
cell value from a grid theme for each point in a point theme. The usage is straightforward:
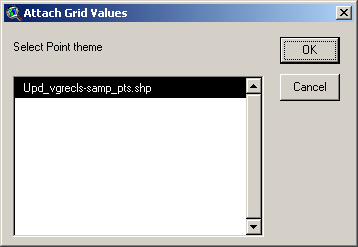
- After you select the menu choice, select the point theme for which you want
to get cell values.
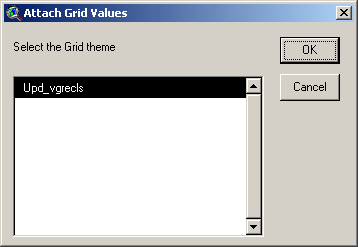
- Next, select the grid theme from which you want to extract cell values.
Appendix D: Adding XY Coordinates
FocalPatch automatically adds X and Y coordinates to point theme tables. However,
you can also do this outside of the FocalPatch core processing environment.
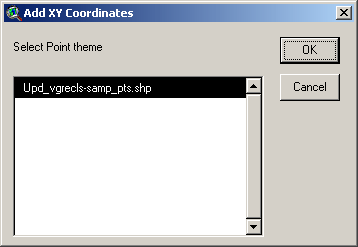
Simply select this menu choice, and you will get a dialog asking which point
theme for which you wish to calculate X and Y coordinates.
If your theme table already has X and Y coordinates, you will be asked whether
or not to overwrite those existing coordinates:
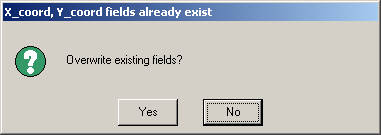
A positive response will overwrite existing X and Y coordinate values.


